Make sure you have the Apple Developer Tools (XCode) installed.
You don’t need the full Xcode package to get the Xcode Command Line Tools. You only need the full Xcode package if you are doing development of applications for the Apple operating systems. However, you may have previously installed the full Xcode package.
Check if the full Xcode package is already installed:
$ xcode-select -p
If you see:
/Applications/Xcode.app/Contents/Developer
the full Xcode package is already installed.
You will need to update Xcode to the newest version (Xcode 5.01 or newer). Go to the App Store application and check “Updates.” After updating Xcode, be sure to launch the Xcode application and accept the Apple license terms.
If you intend to install Ruby using RVM, and you see a file location that contains spaces in the path:
/Applications/Apple Dev Tools/Xcode.app/Contents/Developer
you must delete Xcode. RVM cannot accommodate spaces in a path so RVM will fail when you attempt to install Ruby. You can either install only the Xcode Command Line Tools (instructions below) or reinstall the full Xcode package.
Install Xcode Command Line Tools
Mac OS X Mavericks will alert you when you enter a command in the terminal that requires Xcode Command Line Tools. For example, you can enter gcc or make.
Try it. Enter:
$ gcc
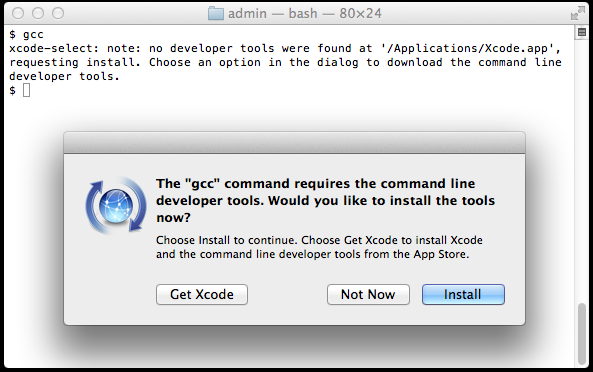
You’ll see an alert box:

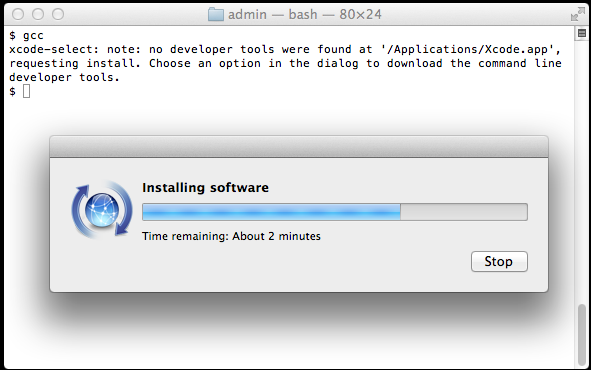
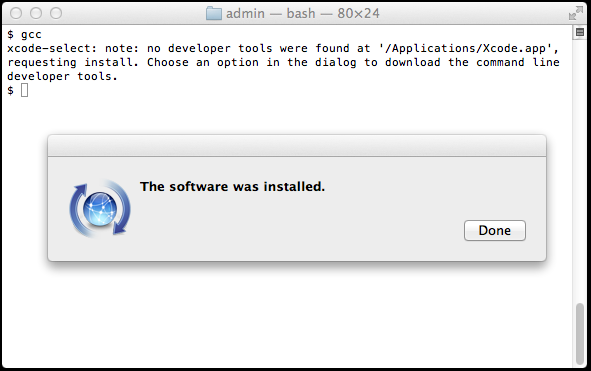
Click “Install” to download and install Xcode Command Line Tools.
The instructions in the alert box are confusing. You don’t need to “Get Xcode” from the App Store. Just click “Install” for the Xcode Command Line Tools.


Verify that you’ve successfully installed Xcode Command Line Tools:
$ xcode-select -p
/Library/Developer/CommandLineTools
Just to be certain, verify that gcc is installed:
$ gcc --version
Configured with: --prefix=/Library/Developer/CommandLineTools/usr --with-gxx-include-dir=/usr/include/c++/4.2.1
Apple LLVM version 5.0 (clang-500.2.79) (based on LLVM 3.3svn)
Target: x86_64-apple-darwin13.0.0
Thread model: posix
On earlier versions of Mac OS X, it was more difficult to install Xcode Command Line Tools. It required a huge download of the full Xcode package from the Mac App Store or registration as an Apple developer for a smaller Command Line Tools package. Mac OS X Mavericks makes installation of Xcode Command Line Tools much simpler.
If you like, you can run which make again to confirm that everything’s installed correctly. Configure CPAN.
$ sudo perl -MCPAN -e shell
If you like, you can run which make again to confirm that everything’s installed correctly. Configure CPAN.
$ sudo perl -MCPAN -e shell
$ sudo perl -MCPAN -e 'install Bundle::CPAN'
Don’t forget the sudo, or it’ll fail with permissions errors, probably when doing something relatively unimportant like installing man files. This will spend a long time downloading, testing, and compiling various files and dependencies. Bear with it. It will prompt you a few times about dependencies. You probably want to enter “yes”. I agreed to everything it asked me, and everything turned out fine. YMMV of course. If everything installs properly, it’ll give you an “OK” at the end. Install your modules. For each module….
$ sudo perl -MCPAN -e 'install Bundle::Name'
perl> o conf init This will prompt you for some settings. You can accept the defaults for almost everything (just hit “return”). The two things you must fill in are the path to make (which should be /usr/bin/make or the value returned when you run which make from the command line) and your choice of CPAN mirrors (which you actually choose don’t really matter, but it won’t let you finish until you select at least one). If you use a proxy or a very restrictive firewall, you may have to configure those settings as well. If you skip Step 2, you may get errors about make being unavailable. Upgrade CPAN
or
$ sudo perl -MCPAN -e 'install Module::Name'
For the error : JSON features not supported: JSON::RPC::Client not available… Trying to cope. We need to use…
$ sudo perl -MCPAN -e 'install JSON::RPC::Client'
This will install the module and its dependencies. The first time you run this after upgrading CPAN, it may prompt you to configure again. If you accept its offer to try to configure itself automatically, it may just run through everything without a problem.

